Get ready!
- First do the fun game that is in our printing guide to decide which way of printing (at home, at the printshop or at MOO) suits you. Then determine which themes work for you so you only print what you really need. We made you a ultra handy checklist.
- Print and cut your Family Flow cards, or have them printed and cut – whatever suits you!
- Make the box (my girls loved this soooo much, kept them busy for at least a day haha), cut the tabs and set it all up in rainbow, in order of the day or random, whatever fits your family 🙂 Love how both my girls have their own style!
Set up your board.
When you set up your board, first figure out if you want to have a new board on a daily basis (we do this for our littlest) or a week plan (this is my oldest fave), this way you know how much space you need. Whatever board you choose make sure it is easy to turn the cards over so you can celebrate with confetti all day every day!
There are many ways to set up the flow, lemme show you a couple:

On the table:
This is by far the easiest. Simply make place on a table, countertop/shelf, etc for your Family Flow.. You can ‘washi tape’ a designated area to make it more clear.

Pinboard:
Make sure to get fun pins 😉

Magnetic board:
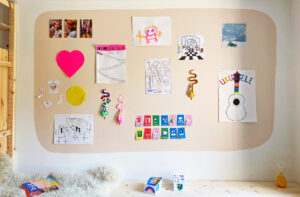
We made us a magnetic board to hang all our home made art, it is like a little art expo :). What I like about it is that, whenever it is full they have to make place themselves by taking something else away. It teaches them a lot and this way we have space for our art in our home as well haha. On a board like this you can easily create a space for the family flow.
You can also set up your Family Flow on a white board, the cool thing is you can also write little notes on it to encourage or as a reminder!

String:
This is my girls favorite option. They both chose their fave color. Can you guess who is who 🙂
Want to read more on how we use the Family Flow, read all about it here!

