Our Bobbinhood Suit has a pretty awesome fly 🙂 In this blogpost I’ll explain why and how to make it. It is pretty easy and fun to do, but because it is not a regular fly it might seem a bit intimidating at first. I have to say though, I have noticed ones you have it, you feel aallll wohoooooooooo!!!!! (which is the best feeling right?).
First lemme explain why this fly is different than a usual, let’s say, jeans fly. So an overall is basically a shirt with pants combined. A shirt has it’s CF (center front) in the middle of the buttons, in the middle of the plaquet. Pants have CF on the seam. The button of your pants is just off CF. So if you combine these two, it simply won’t fit. If you would align the shirt with the pants, you would have to move the plaquet to the side, this way you’ll have an asymmetrical top part, which looks weird and doesn’t wear comfortable. If you would align the pants with the shirt, the crotch would be very uncomfortable. So after a lot of research we found this trick! What we are doing is keep the actual crotch in place, Then we gradually move the crotch seam slightly to the side. This might sound complicated but it really isn’t, it is fun to make, and wears super comfi.
Ready? Set? Go!
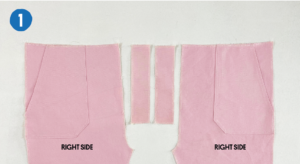
1. First attach the front pockets to the front legs. In the manual we are at step 47. Lay the front pants out on the table right side up. I like to fuse both facings for extra sturdiness.
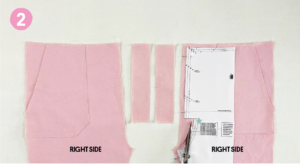
2. Place the pattern again on the left leg (on the right side of this pic). (When I am writing this blogpost, we are working from home due to Covid-19, my pattern is at our HQ so I quickly printed out just these 2 pages to save paper.) Now cut the crotch of the left leg (here on the right) as indicated on the pattern. Make sure to cut with seam allowance!
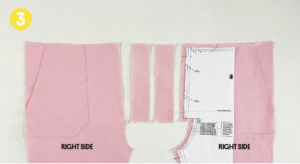
3. Here you see what it looks like after it has been cut. Again: don’t forget the seam allowance 🙂
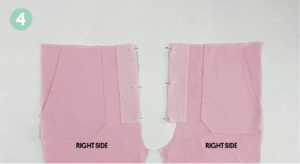
4. Pin the facing to the front legs as shown here.
5. Stitch them at 1 cm (3/8 inch).

6. Press the seams to the front.
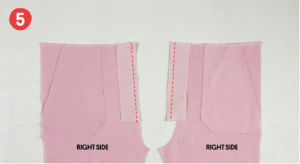
7. Place good side on good side, pin them together at the crotch. Also pin them together at the indicated star on the pattern.
8. You’ll notice that it doesn’t seem to fit. There seems to be too much space. No worries, we’ll fix this! Carefully work this in. There is enough space, we tested all sizes endlessly and it all worked out!
9. Stitch the crotch at 1 cm (3/8 inch) as indicated until the indicated star. It might seem a bit bubbly but you will even it out by ironing, just make sure not to stitch any pleats by accident.
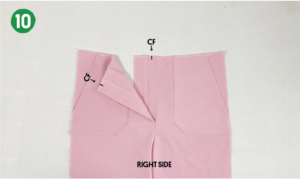
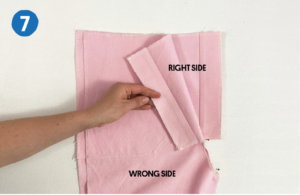
10. Place everything with the right side up on your table. Fold the facing of the right leg on the seem to the inside (here on the left). Do not fold the facing of the left leg. As you can see here.
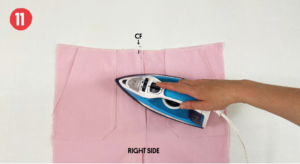
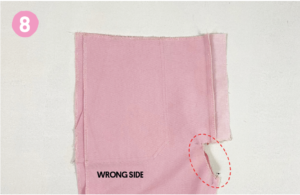
11. Place CF (there should be a notch there, double check your pattern if you need to) on CF. Press everything.
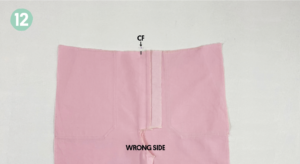
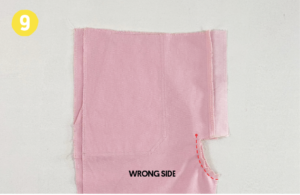
12. This is what it looks like on the inside. (so sorry for the blurry picture! I only noticed after I finished my suit so couldn’t make another one but I think you’ll get the idea ;))
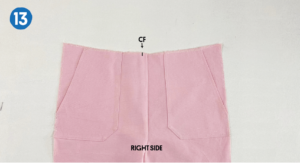
13. This is your front. You just made yourself a fly with the CF moved to the middle wohooooooo!!!!! You are a star!
Now it is exactly right to align with the top part of the Bobbinhood suit! Go go go!!!!